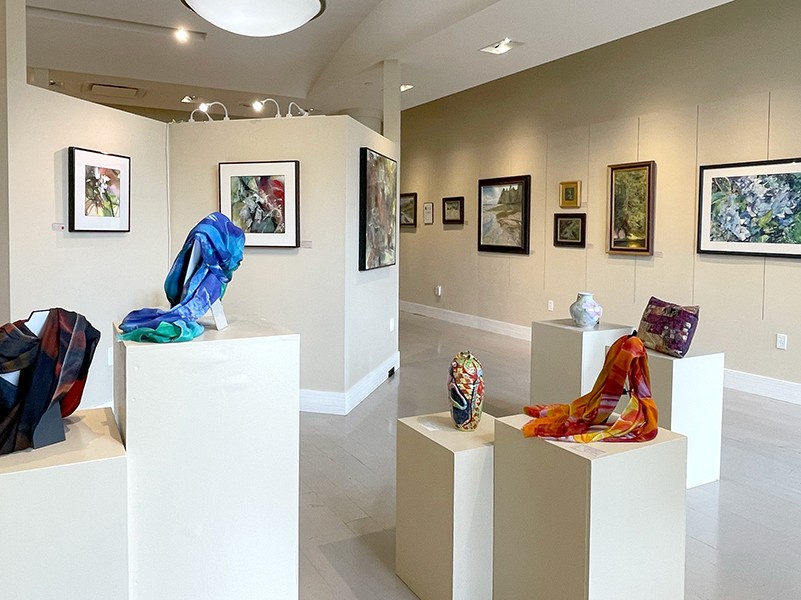
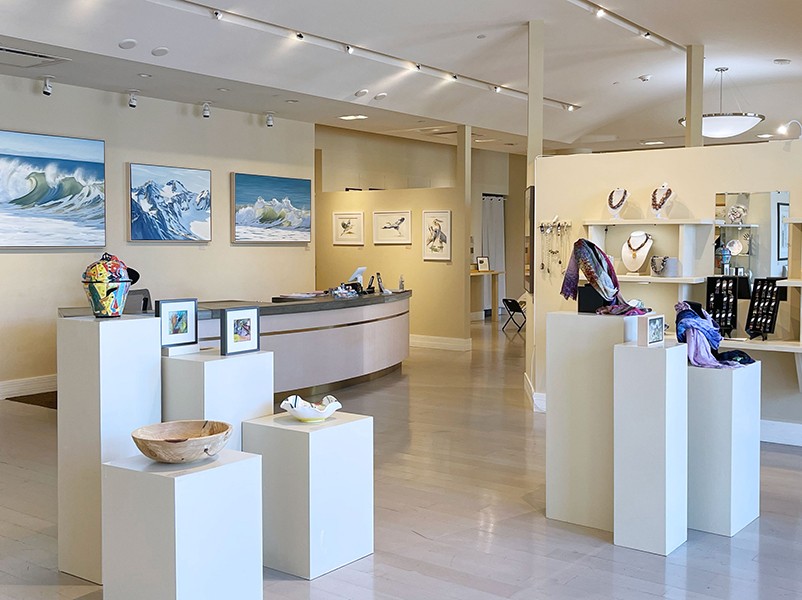
When we have a multi-services application and need to run microservices in our machine, we realize it is easier with Docker. To establish connectivity between these microservices or containers, we can set up a Docker network, effectively creating a connection among them. The process is straightforward, requiring a few commands in the correct order (If you’re not interested in networking, feel free to skip ahead to the end). 

Know What You Need

Like in anything we do, the first step is to know what you need. Not all our containers have to be connected. Every administrator of a network will tell you, “You have to diagram your need network before you run the command, or you will have a mistake along the way.”

You also need to know the type of connection, but I want to keep this article short. By default, our computers usually have the network set to “bridge,” so I can assist you in implementing that network type. However, it’s important to be aware that there are also other options available, such as “Host,” “Overlay,” and “Macvlan.” 

The diagram of the graphic for the network could be done on a computer or on paper, but this will depend on how complex our setup is.

Creating the Network

We will use the “docker network create” command to create a new network. In this command, you can specify the driver to use, such as “bridge” or “host”, using the flag “-d”. By default, if you omit the flag, will create a type “bridge.”

Once we have the network, we could inspect if we want to see the information on it. Using the command “docker network inspect name” will provide us with the detail of the network, like the IPAN, that will contain the driver, the subnet and the gateway, etc.  

After the creation, we need to add the container to the network. In this example, I create two random containers.

We must run the next command “docker network connect name-network name-container” to add the container to the network.

Once we run these commands, we should inspect the network because this command doesn’t return any validation and sometimes fails.

Now that we certificated the network contains our two containers, we could try to test the connection between the two.

Testing the Connection Between Our Containers

This test is easy to do, if we enter the terminal of the container, we could run a “ping” command with the IP of the other container.

After this, we now only must change our environment to point the IP of the container and our application will have the capacity to connect between the containers.

Clarifications

Sometimes we make the mistake of taking this network like it will be our new “localhost.” This is not it. The localhost and the docker network are two separate entities.

The docker network will not work in our browser, this network is only for connecting internally.

Another common mistake is putting the external port in our environment together with the IP for the connection. In our environment, we need to put the IP with the internal port for the connection. 

Alternatives

If you don’t like networking, and you don’t want to fight the possible errors that can occur, there is an alternative. Since version 18.03, Docker added an internal hostname “host.docker.internal” which allows you to connect the containers internally without the need for a docker network. In some cases, like Ubuntu containers, you will need to add this parameter “–add-host=host.docker.internal:host-gateway” to include the host.